Task 3: Installing Oracle Application Binaries (Windows)
This section covers the installation of the Oracle Database application binaries. Typically, the Oracle Database application binaries are installed on the same server as the Portal binaries, although in some cases, a separate server may be designated. See
Task 1: Portal and Database Deployment Strategies (Windows).
Note:The APTARE StorageConsole server cannot have any other Oracle database instances installed.
Estimated Time: 5 minutes
Note the instructions provided with the confirmation of your purchase agreement and consult the APTARE Global Support Services, if you require additional assistance.
To install the Oracle binaries
1. Log in to the server as a Local Administrator.
Oracle requires that you are logged in as a Local Administrator. Logging in as a Domain Administrator is not sufficient for this installation. Refer to the Oracle web site for the requirement to install on Windows as a user who is a member of the server’s local Administrator’s group.
2. Insert the Oracle Software CD into the CD-ROM drive of your Windows server.
3. The installer should launch automatically. If it does not, using Windows Explorer, navigate to the CD drive, and double-click on the executable file: sc_dbinstaller_9200_<MMDDYYYY>_win.exe
4. The Installation Wizard will start the process.
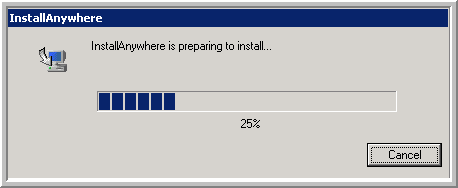
5. Once the files have been extracted, the Introduction window will display.
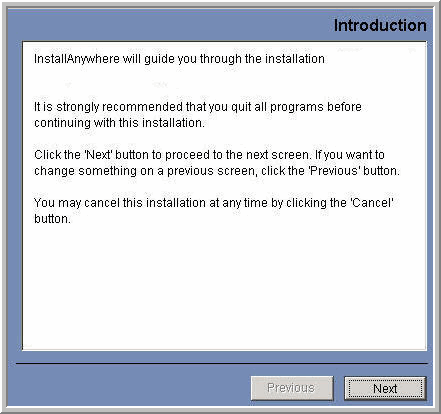
6. Click Next to begin the installation process.
7. The Installer will then display the LICENSE AGREEMENT screen and prompt you to accept the end-user license agreement (EULA) to continue.
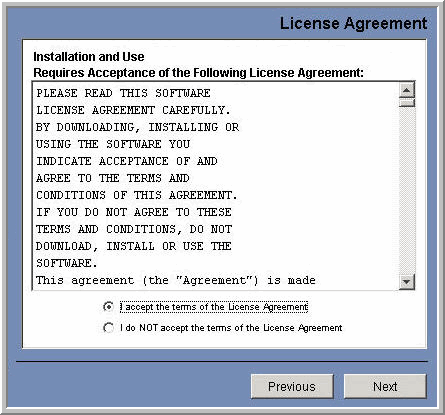
8. Click on the “I accept the terms of the License Agreement” selector and then click Next to continue.
9. The next screen displays the PRE-INSTALLATION SUMMARY. This screen summarizes the product components that will be installed and describes the available and required disk space for these components.
• Note that the requirements shown on the following
example screen may not match the requirements displayed on the installation screen. Refer to the actual Pre-Installation Summary screen for the current requirements.
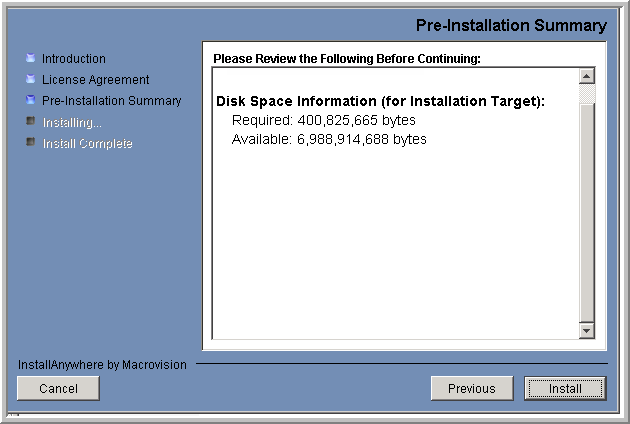
10. Click Install to start the installation of the Oracle Application binaries in the C:\opt directory on your Windows server.
11. The installer then displays several status screens as the various software binaries are copied into place on your Windows server. The progress bar at the bottom displays the component being installed and the progress of the install overall.

12. At the completion of this step, the Install Complete screen appears. Click
Done to complete the installation of the Oracle Application binaries.
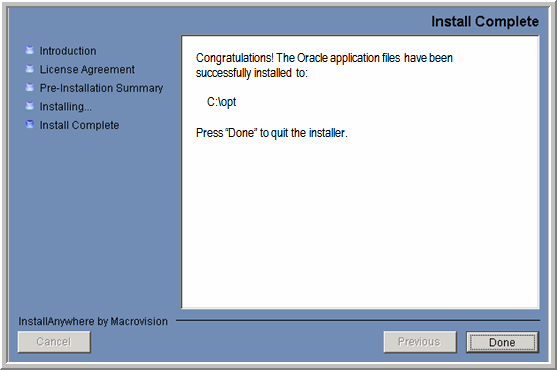
At this stage of the installation process, the Oracle Application binaries have been installed on your server and appropriate Oracle services created. This completes the installation of the APTARE StorageConsole Oracle Application component. The next step is to install the APTARE StorageConsole Portal Software components, as described in
Task 4: Installing Portal Application Binaries (Windows).


