Installing the Data Collector
Follow the steps in the following sections to install the Data Collector on the Data Collector Server. The particular sequence of instructions depends on your environment. The data collector installations can be downloaded via the Internet.
In addition to the GUI version, the installer supports a console (command line) interface for Linux systems that do not have X-Windows installed. You will be directed to the console interface instructions, if appropriate.
Note: Log in as a Local Administrator in order to have the necessary permissions for this installation.
Installing Using the Internet
Follow these instructions if you are installing on a Data Collector Server that has Internet access and a web browser.
1. Start the web browser on the Data Collector Server.
2. Go to the downloads section under Support at www.veritas.com and click on the relevant download link.
3. Select the Data Collector Installer that corresponds to the platform of the Data Collector Server.
OS | Data Collector Installer File Name |
Linux | sc_datacollector_linux_<releaseversion>_<MMDDYYYY>.bin |
Windows | sc_datacollector_win_<releaseversion>_<MMDDYYYY>.exe |
4. Execute the OS-specific Data Collector installer.
Internet Access Not Available from the Data Collector Server
Use these instructions if you are installing via the Internet where Internet access is not available from the data collector server.
1. Note the Platform/OS of the Data Collector Server on which you want to install the Data Collector.
2. Open a browser on a client with web access (you will download the installer to this client, and then copy it to the Data Collector Server).
3. Go to the Downloads site in the Customer Portal at www.aptare.com and click on the relevant download link.
4. Download the Data Collector Installer that corresponds to the platform of the Data Collector Server.
OS | Data Collector Installer File Name |
Linux | sc_datacollector_linux_<releaseversion>_<MMDDYYYY>.bin |
Windows | sc_datacollector_win_<releaseversion>_<MMDDYYYY>.exe |
5. At the prompt, save the Data Collector Installer to a directory on the client.
6. Copy the Data Collector Installer to the Data Collector Server where the Data Collector is to be installed.
7. Go to the Data Collector Server and run the installer.
• On Windows:
Execute sc_datacollector_win_<releaseversion>_<MMDDYYYY>.exe
• On Linux:
If the
Data Collector Server has X-Windows, take these steps, substituting the relevant Data Collector Installer name for
<installer_file>, as listed in
Step 4.
chmod +x <installer_file>
sh ./<installer_file> –i swing
If the Data Collector Server does not have X-Windows:
• Proceed to the Console Installation instructions.
UI Deployment of the Data Collector
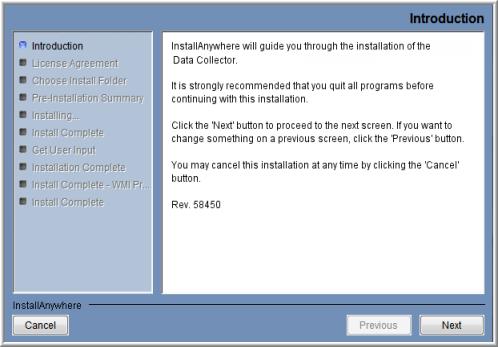
InstallAnywhere will prepare to install the Data Collector software. After checking the available disk space and downloading the installer, an introduction dialog window outlines the installation process.
1. Review the installation process and click Next.
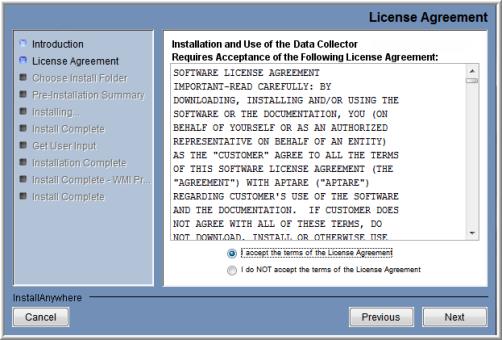
The License Agreement displays for your acknowledgement.
2. Read the agreement and click the “I accept” radio button and then Next.
The installer will display a window, which prompts you for an Install Folder.
3. Specify the directory where you would like to install the Data Collector software.
Accepting the default paths is recommended.
Windows default directory: C:\Program Files\Aptare
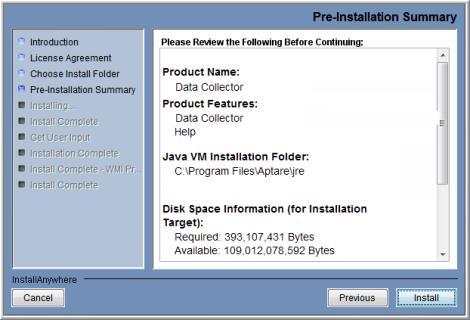
4. Click Next to display the Pre-Installation Summary.
5. Review the summary and click Install. The dialog tracks the installation as it progresses.
6. A Configuration Settings window will prompt you to select a Data Collection Task. The configuration choices are: Data Collector (includes WMI Proxy) or APTARE WMI Proxy Server (only).
A single Data Collector can be installed for multiple products on a single server. When you select a backup product, if you are installing on a Windows server, the WMI Proxy Server is automatically included with the installation. When you select a storage array, the Host Resources setup is automatically included in the installation. The WMI Proxy Server also can be installed individually.