ServiceNow Configuration - Part Two
After completing ServiceNow configuration part one, and the steps in the APTARE portal, finish the setup in your ServiceNow application.
1. Validate the MID Server. System Administrator role required.
a Use the Filter Navigator to search for the MID Server.
b Select Servers under MID Server.
d Click the Validate link under Related Links.
e Click
Restart MID under
Related Links.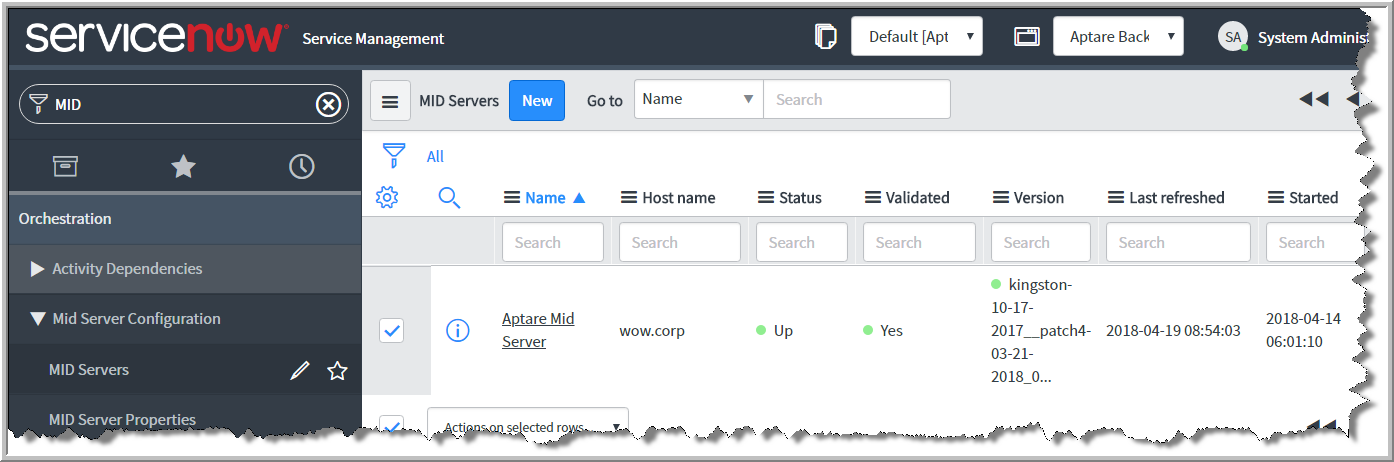
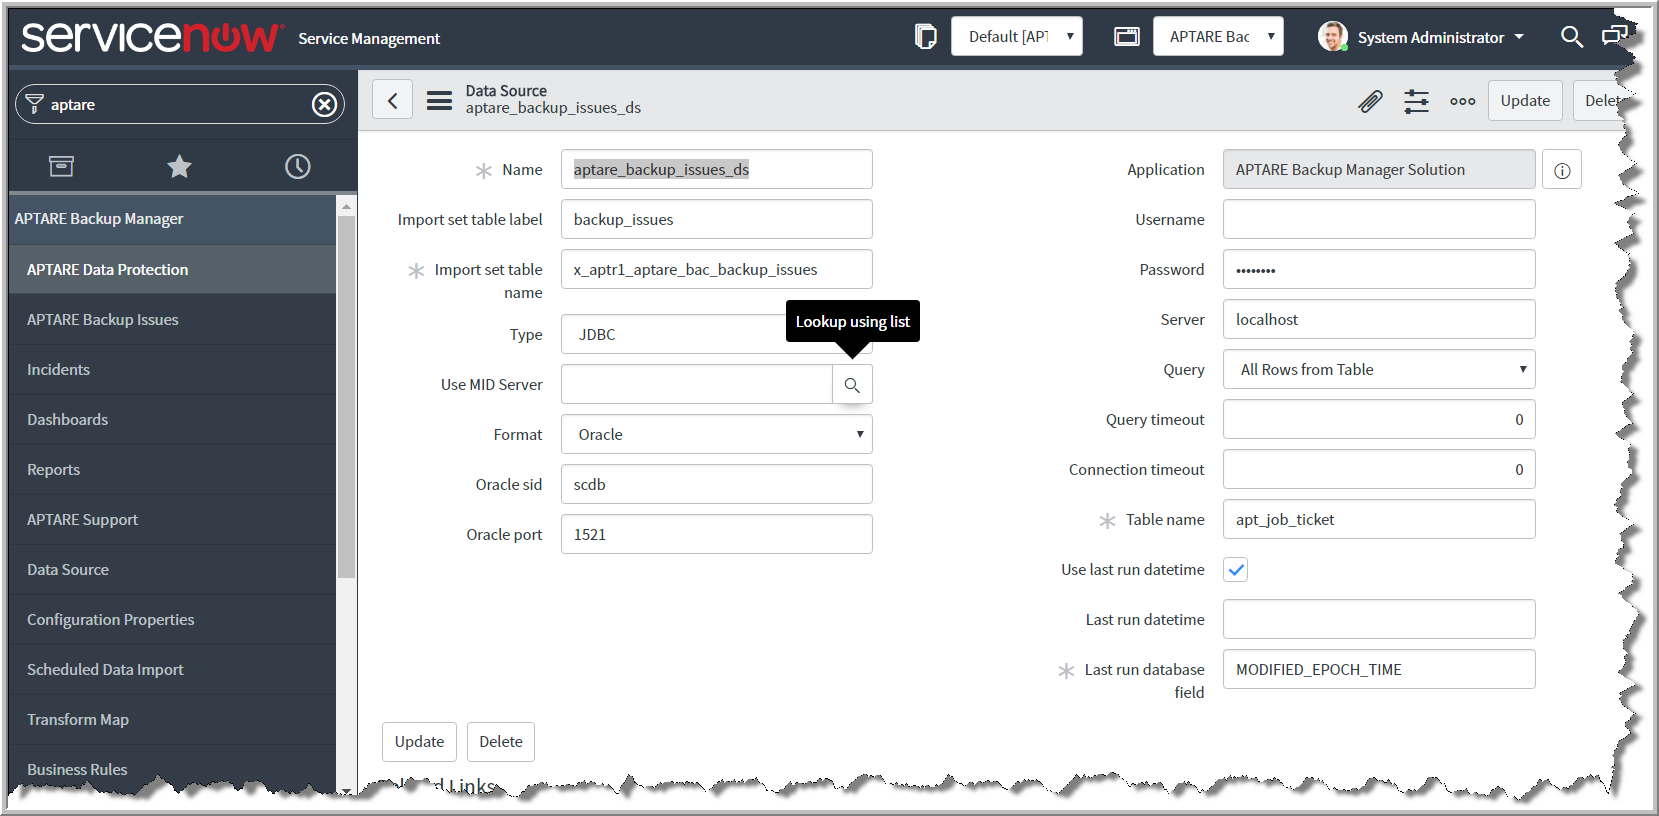
2. Configure the Data Source for Backup Issues.
a Use the Filter Navigator to search for APTARE Backup Manager.
b Select Data Source.
c Select aptare_backup_issues_ds and click the link to open the Data Source.
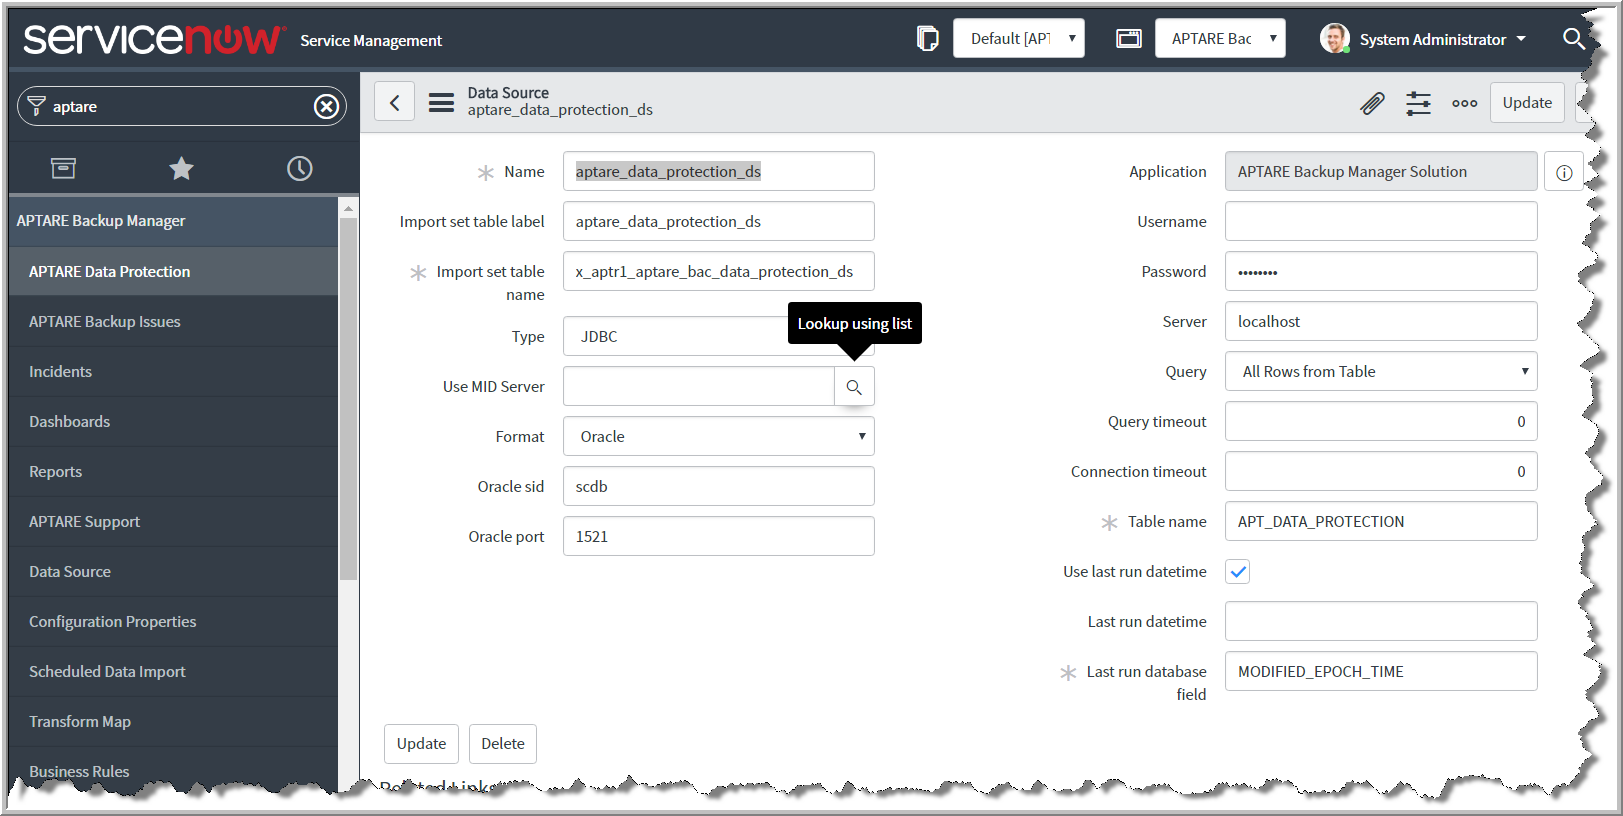
3. Configure the Data Source for Data Protection.
a Use the Filter Navigator to search for APTARE Backup Manager.
b Select Data Source.
c Select aptare_data_protection_ds and click the link to open the Data Source.
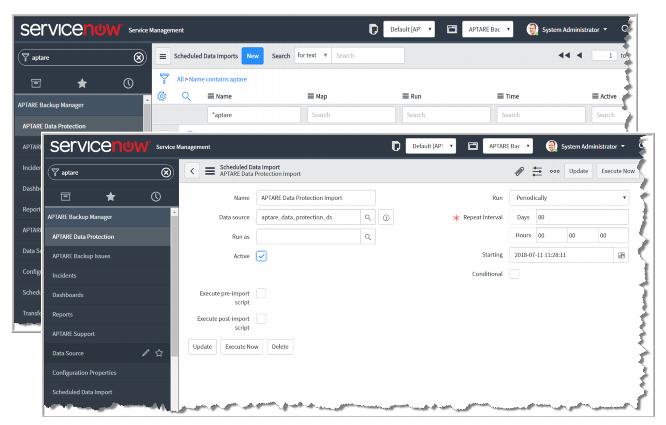
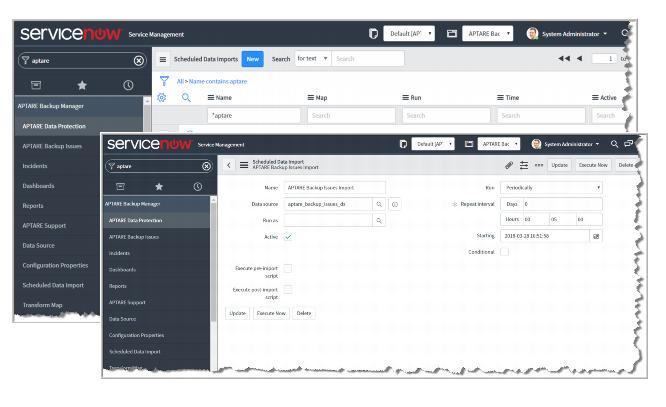
4. Set the schedule for the Import Set for Backup Issues Import.
a Use the Filter Navigator to search for Scheduled Data Import.
b Open APTARE Backup Issues Import.
c Check the Active checkbox
d Select Periodically in the Run drop down menu.
e Set the
Repeat Interval to the run frequency for the
Scheduled Data Import. For example, if you set the frequency to 0 Days and 1 Hour, the APTARE portal will be polled every hour to search for new job failures.
5. Set the schedule for the Import Set for Data Protection Import.
a Use the Filter Navigator to search for Scheduled Data Import.
b Open APTARE Data Protection Import.
c Check the Active checkbox
d Select Periodically in the Run drop down menu.
e Set the
Repeat Interval to the run frequency for the
Scheduled Data Import. For example, if you set the frequency to 0 Days and 1 Hour, the APTARE portal will be polled every hour to search for new job failures.