Creating User Groups
User groups provide an efficient way of managing many users. You can assign privileges to a group and they are propagated to the users in that group. For example:
• Enable access to specific reports
• Enable access to functional areas
• Assign a set of home pages to launch at login
Privileges also can be assigned to individual users. A user’s privileges are determined from both the user and the group settings.
To create a user group
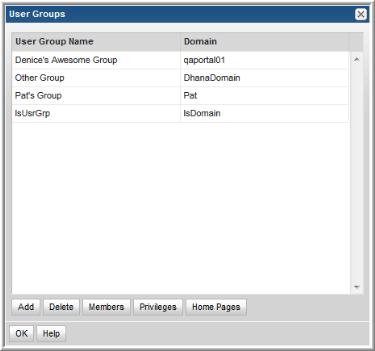
1. Select Admin > Users > User Groups.
2. Click Add. The Add User Groups dialog is displayed.
3. Enter the name of the group that you want to create.
4. Select the domain in the Domain drop-down list and click
OK. To learn about domains, go to
Root Folder and Domains.
Assigning Users to User Groups
This procedure assumes user groups exist. See
Creating User Groups.
To assign users to user groups
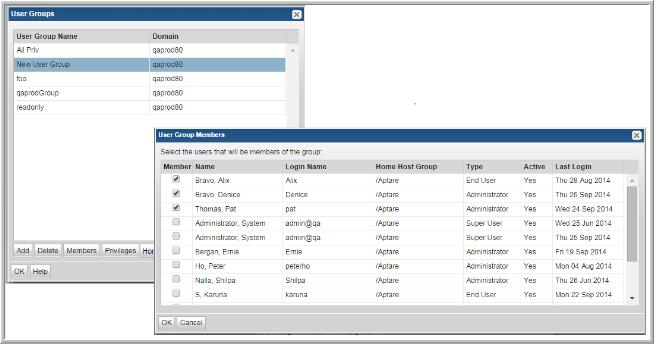
1. Select Admin > Users > User Groups. The window displays all user groups.
2. Select the user group to which you want to add a user.
3. Click Members. A list of users is displayed.
4. Select the check box for the user that you want to add to the user group, then click OK
.
Note: A user with Administrative privileges is only permitted to add a user to a group for which that Administrative user is also a member. Therefore, when you create a group, immediately add the Administrative user to the group to enable management of that group.