Sharing Reports, Dashboards and Folders
Sharing is a privilege based on ownership. Reports and dashboards must be saved before they can be shared. You can share a report or dashboard with any number of users or user groups. Reports in a shared folder inherit the sharing properties of the folder. You do not need to set the sharing properties on each report. The folder properties will append any properties set on the individual reports.
As an example, report A is shared with users, B and C. Folder A is shared with users, D, E and F. If you add report A to folder A, it becomes shared with users B, C, D, E, and F. You can add reports to a folder at any time.
Use the
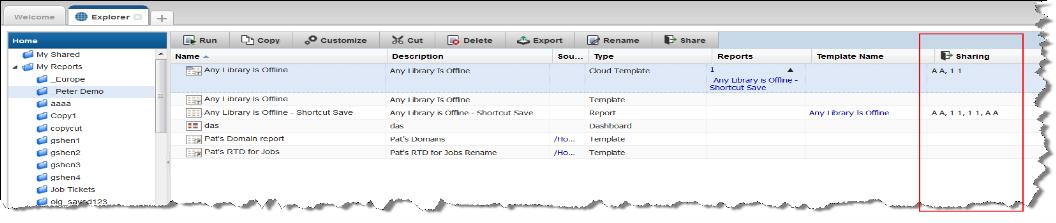
Explorer to view sharing status associated with reports and folders. For report and folder creators, this information can be useful to determine the impact of stopping the sharing, modifications to the report, or deletion. Shortcuts cannot be shared.
Note: If you have many reports to share, you can add these reports to a user folder and share the entire folder. All reports within the folder inherit the assigned sharing properties.
To share a report, dashboard or folder
1. Select the saved report or dashboard in the Explorer, click Share on the Action bar.
OR
From the navigation panel, select a user folder and click Share.
The dialog displays a list of users and groups.
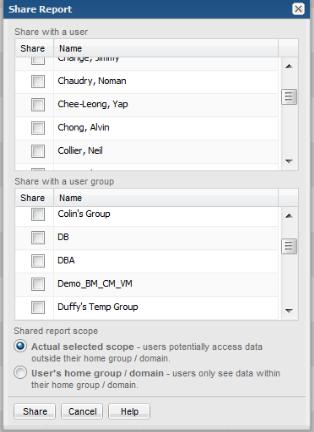
2. Check any number of users or user groups.
3. Check the shared report scope:
• Actual selected scope - When this option is selected, users may be able to access data that is not in their home group.
• User’s home group - This option limits access to data within the user’s home group. For example, a Managed Services Provider may create a report and share it with multiple clients in different home groups. These users will only be able to access the data for their specific home group.
Note: Custom reports, created with either the SQL Template Designer or Dynamic Template Designer, are always restricted to the user’s home group.
4. Click Share.
To add users or groups to shared reports, dashboards or folders
You cannot edit the list of who the report/dashboard/folder is shared with, only append to it.
1. Select the shared report or dashboard in the Explorer, click Share on the Action bar.
OR
From the navigation panel, select the shared user folder and click Share.
The dialog displays a list of users and groups with those already shared with selected.
2. Check any number of users or user groups.
3. Check the shared report scope:
• Actual selected scope - When this option is selected, users may be able to access data that is not in their home group.
• User’s home group - This option limits access to data within the user’s home group. For example, a Managed Services Provider may create a report and share it with multiple clients in different home groups. These users will only be able to access the data for their specific home group.
Note: Custom reports, created with the SQL Template Designer or Dynamic Template Designer, are always restricted to the user’s home group.
4. Click Share.
Working with Shared Reports
You can share saved reports and user folders with other users or user groups. Reports and user folders can also be shared with you.
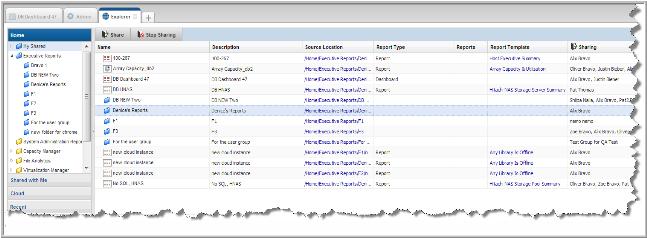
To view a list of reports, dashboards and user folders shared with others
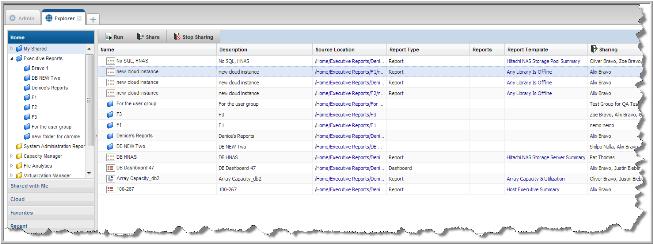
As the report/folder creator, you can modify and delete your shared reports and folders. Use the Explorer to view properties associated with shared elements. This information can be useful to determine the impact of modifications or a deletion. Reports listed in the Explorer indicate if sharing is active, and identifies who the report is shared with.
1. Click Explorer.
2. Click the user folder My Shared in the navigation panel.
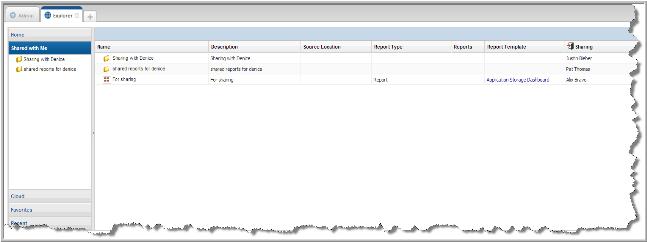
To view a list of reports and user folders shared with you
As the report/folder recipient, you are limited in the actions you can perform on the report or folder. Shared reports can be emailed, exported or can trigger an alert. You cannot edit or delete shared reports or folders. If the report creator updates the report, it is automatically updated in your Shared with Me folder.
1. Click Explorer.
2. Click Shared with Me in the navigation panel.
To stop sharing reports
Use the Explorer tab to view properties associated with shared reports. This information can be useful to determine the impact of stopping the sharing, modifications to the report, or a deletion.
1. Click Explorer.
2. Click My Shared in the navigation panel.
3. Select the report or folder you want to stop sharing.
4. Click
Stop Sharing on the Action bar.
Note: If a report or folder has been shared with multiple users, when you stop sharing, all users are removed. You cannot stop sharing with individual users.