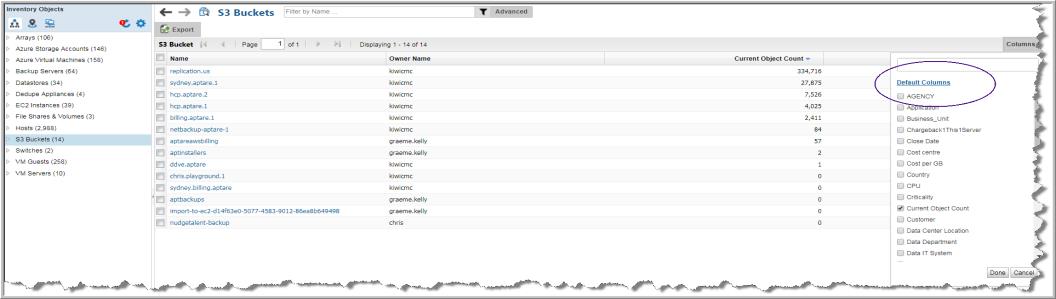
Selecting Columns on Management Pages
The Inventory view allows you to create a custom views and choose the columns to display on the pages. The columns available for selection are based on a variety of factors, including your product licenses, collected data within the your domain, and pre-built custom attributes. Once selected, sort and move these columns to your preference.
Note: The Host Group column, displayed in the Inventory for the Host Group management view, has sorting disabled to improve portal performance.
To add columns to the view
1. Navigate to Inventory.
2. Click Columns.
Note: If you select more columns than will fit on the current view, you can roll your cursor over the top of the
Columns button to quickly see all column names that are selected for the active page.
3. Enter the column names you’d like to add to the view. The results shown in the drop-down list are listed alphabetically and filtered by keywords as you enter a value. Your entry is highlighted as it is found in the list. You can also scroll and browse through the list without searching.
4. Click the checkbox beside the column name to display it on the management page.
5. Click Done to display your choices.
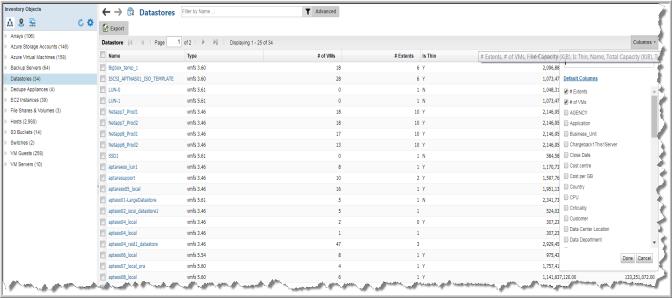
To remove columns from the view
1. Navigate to the Inventory.
2. Click Columns.
3. Enter the column names to remove from the view. The results shown on the drop-down list are filtered as you enter the value and suggestions are displayed. You can also scroll and browse through the list without searching.
4. Deselect the checkbox beside the column name to remove it from the management page. The column is removed from the view when you click the page.
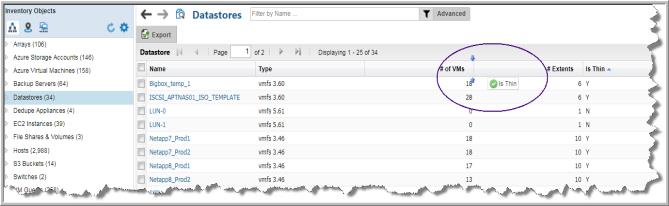
To reorder columns in the view
Once you’ve added/removed columns on the view, order them as you like. This custom order is persisted for your session.
1. Click the column name to move.
2. Drag and drop the column to the desired location.
To reset to default columns
After customizing the columns shown, you can easily reset to the default columns.
1. Navigate to the Inventory.
2. Click Columns.
3. Click the link
Default Columns.