Saving Reports
When you save a report, you are saving the definition and parameters,
not the report output. Each time you launch a saved report, the report’s data refreshes. If you intend to access this report often, consider creating a dashboard and setting it as your home page. See also
Working with Dashboards and
Managing My Home Pages.
Saving Cloud Reports
In general, cloud user report templates and their reports function the same as system templates and reports. There are a few cases where they behave differently. All templates, system, cloud and custom, are linked to their reports. This means that changes made to the template are inherited by the linked report. This rule is true for cloud linked reports, with one addition, when a cloud template is updated in cloud, you are prompted to accept or refuse the update when you save the report.
For example, if you run a cloud template to create a report and save it, Cloud One, the cloud template and your report, Cloud One, are saved locally in your portal. Now let’s say the cloud template has been modified by APTARE customer support and a new version has been promoted to the cloud. The next time you save Cloud One, you are prompted to accept the template modifications or refuse them.
When APTARE introduces improvements, the
Cloud section is automatically refreshed and your local Cloud-linked templates can also be updated if you choose to do so. However, if you saved a Cloud template with a different name or made a copy, that saved template is detached from the Cloud template and will not automatically inherit the updates. See also,
Using New and Updated User Report Templates.
Note: To capture report output into a saved file, use the export feature,
Exporting Reports and Dashboards.
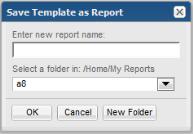
To save a report
2. Click Actions and select Save.
3. Enter a descriptive report name.
4. Choose a folder or create a new folder within your My Reports folder. You can rename the My Reports folder. If a rename has occurred, the path in this dialog box will reflect that change.
Note: Reports must be saved into folders.
To save a report with a different name
1. Generate a saved report.
2. Click
Actions and select
Save As.
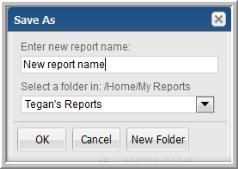
3. Enter a descriptive report name.
4. Choose a folder or create a new folder within your My Reports folder.
Note: You can change the name at any time by selecting the report while viewing the contents of the My Reports folder and clicking Rename.